3D Jewelry Rendering Services: When to Use Renders and How to Check Them
When a brand or custom jeweler should use CAD renders instead of photos, what to send a rendering service, how to check a render, and how to label it.
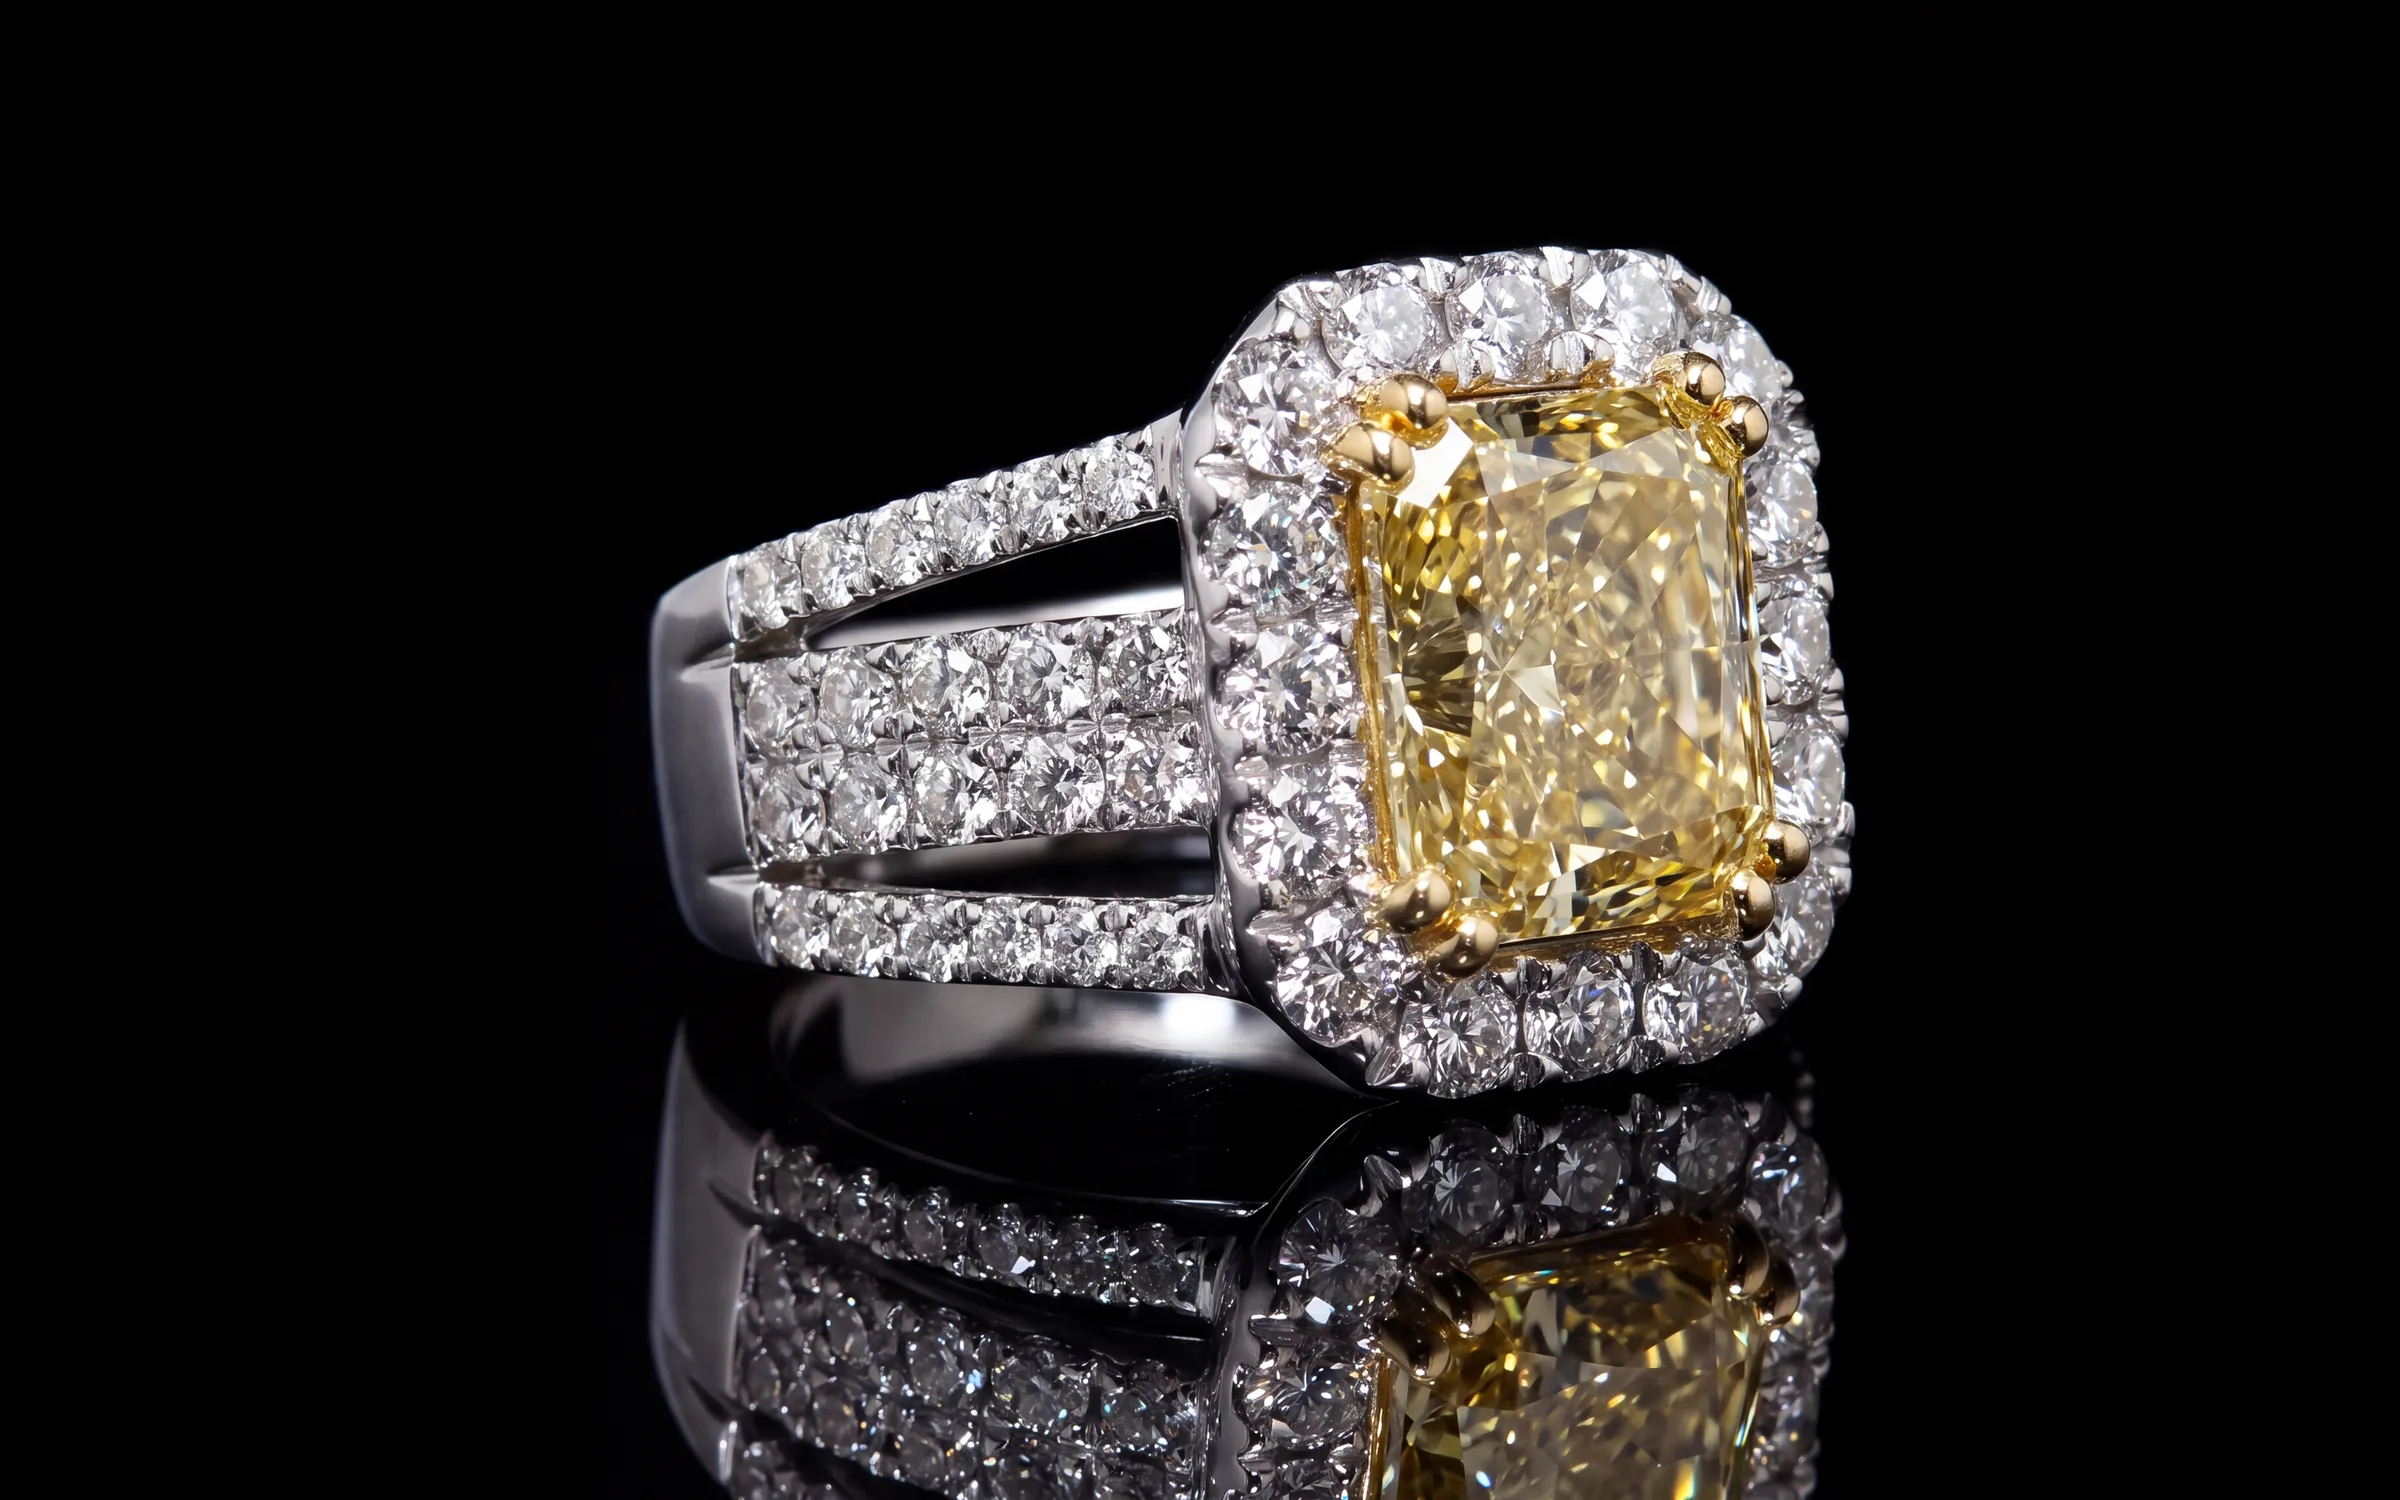
A 3D jewelry render is a picture made from a computer model of the piece instead of from a camera. For many brands and custom jewelers it has become as normal as a product photo. A ring can be shown in every metal before a single one is cast, a custom design can be approved before the wax is printed, and a whole collection can be in front of buyers months before stock arrives.
Renders also go wrong in ways photos do not. A render can show a piece that is slightly different from the one you will ship, or look so perfect it reads as fake. This guide covers when renders make sense, what a jewelry rendering service needs from you, how to check the result, and how to use renders honestly.
When to use renders instead of photos
Renders earn their place in a few situations.
- Before production. You want to show a new collection to buyers, or test interest, before investing in casting and stone setting.
- Every metal and stone option. A ring offered in white, yellow and rose gold, with three center stone shapes, is nine pieces. Rendering all nine is far cheaper than making them.
- Custom design approval. A customer can see their ring from several angles and approve it before the bench starts work.
- Made-to-order lines. If you only make a piece once it is ordered, there is nothing to photograph.
- Consistency. Renders of a whole line come out with identical light and framing.
Photos still win once the piece exists. A shopper deciding on a finished piece in the case is better served by a photograph of that piece, and many shoppers trust a real photo more.
What a rendering service needs from you
The quality of a render depends mostly on what you send. Prepare these before you ask for quotes.
- The CAD file. Most services accept common formats such as 3DM (Rhino and Matrix), STL or OBJ. Check whether the file is the final production model, not an early sketch.
- Materials. The metal and color for each version, and the finish: high polish, satin, hammered, sandblasted.
- Stones. Type, color, shape and size of every stone, and how it is set. A CAD file often holds the stone positions but not what they are.
- Views. Which angles you need, such as front, side, top, three-quarter and on a hand, and the frame shape for each.
- Background. White, a color that matches your catalog, or a styled scene.
- References. Two or three images whose look you want to match, ideally photos of your own finished pieces.
- Use. Where the renders will go: website, buyer lookbook, print, ads. That decides the size and how much detail is needed.
Ask about pricing per view, per variant and for revisions, and agree the turnaround and usage rights in writing before work starts.
How to check a render
A render can be wrong in quiet ways, so check every one against the CAD and, once it exists, the finished piece.
- Stone sizes. A 6.5 mm round is about a one carat diamond. If the render's center stone looks larger against the band than the CAD says, the camera angle or scale is off.
- Metal color. White gold renders often come out too blue or too gray. Yellow gold often goes too orange. Compare with a photo of real metal.
- Prongs and details. Count the prongs and the stones in the halo. Check milgrain, engraving and gallery details that a quick render may smooth over.
- Proportions. The band width, the height of the setting and the profile from the side should match the CAD measurements.
- Realism. Perfect, shadowless metal on a pure white void looks like a video game. A little reflection of a real environment and a soft shadow make a render believable.
- On-hand scale. If a render shows the piece on a hand, check that the ring is the right size for the finger.
The most expensive mistake is a render that sells a piece the bench cannot make exactly that way. Have the person who will make the piece sign off on the render.
Label renders honestly
If a picture is a render of a piece that has not been made, or of a metal option you will make to order, say so. A short note such as "Rendering shown. Made to order in 14K white, yellow or rose gold" sets the right expectation. The FTC's Jewelry Guides cover misrepresenting the metal, stones or quality of a piece, and a shopper who receives something different from the picture has a fair complaint whether the picture was a photo or a render.
Once the piece is made, consider adding a real photo alongside the render.
Renders, photos, or both
Most brands end up using both. Renders cover the options and the pieces that do not exist yet. Photos, or finished photographs made from photos of the real piece, cover what is in stock. The important thing is that they look like they belong to the same brand: the same background, the same light, the same framing.
How Aurix fits
Aurix works from both kinds of source.
For pieces that exist, the Aurix app makes finished photographs from the photo you already have. Choose a Style and Aurix shows the piece on its own on a clean studio backdrop or a surface such as marble, silk or slate, or worn on a hand, neckline, ear or wrist. The models are generated. Each new photograph waits in Review changes next to your original by default, and approved images publish to your Shopify store.
For brands and manufacturers, Line Studio, our workspace for whole lines, can also start from CAD. It is in early access, and we run it with each brand directly. Today it reads CounterSketch design files (.csg): it builds a specification in millimeters from the design, makes renders held to that specification, and checks the finished renders against the measurements, so the proportions match the piece you make. A person looks at every render and can reject it, and the reason goes into the next attempt. If your CAD is in another format, a still render or a photo of the finished piece can be the starting image instead.
If you send us files, we do not publish them, share them with other brands or retailers, or use them as sample data.
See how Aurix works for brands.
Where to start
Pick one piece that exists and one that does not. Photograph the first, gather the CAD for the second, and compare what each route gives you against what you need for buyers and for shoppers. To see how Line Studio works, book a 20-minute walkthrough. We run it on sample pieces.
Frequently asked questions
What is a 3D jewelry rendering service?
A service that turns a CAD model of a jewelry piece into realistic images, showing the metal, stones and finish from chosen angles and backgrounds. Brands use renders to sell or approve pieces before they are made, and to show every metal option.
What files does a jewelry rendering service need?
Usually the CAD file (often 3DM, STL or OBJ), plus the metal and finish for each version, the type, shape and size of every stone, the views you want, a background choice and some reference images.
Are jewelry renders as good as photos?
A well-made render can look very close to a photo, and it can show pieces and options that do not exist yet. For pieces in stock, many shoppers still trust a real photo more, so many brands use both.
Do I have to tell customers an image is a render?
It is good practice to say so when the piece has not been made or is made to order, and the image must not misrepresent the metal, stones or quality. A short note under the image is enough.
Can Aurix render jewelry from CAD?
Line Studio, which is in early access for brands, can work from CounterSketch design files (.csg) and checks its renders against the design's measurements. For pieces that exist, the Aurix app makes finished photographs from a photo of the real piece.