Finished Jewelry Product Photos From Photos You Already Have
Counter shots and supplier images are a better starting point than they look. Which photos work, which shots to make, and how to check every result.
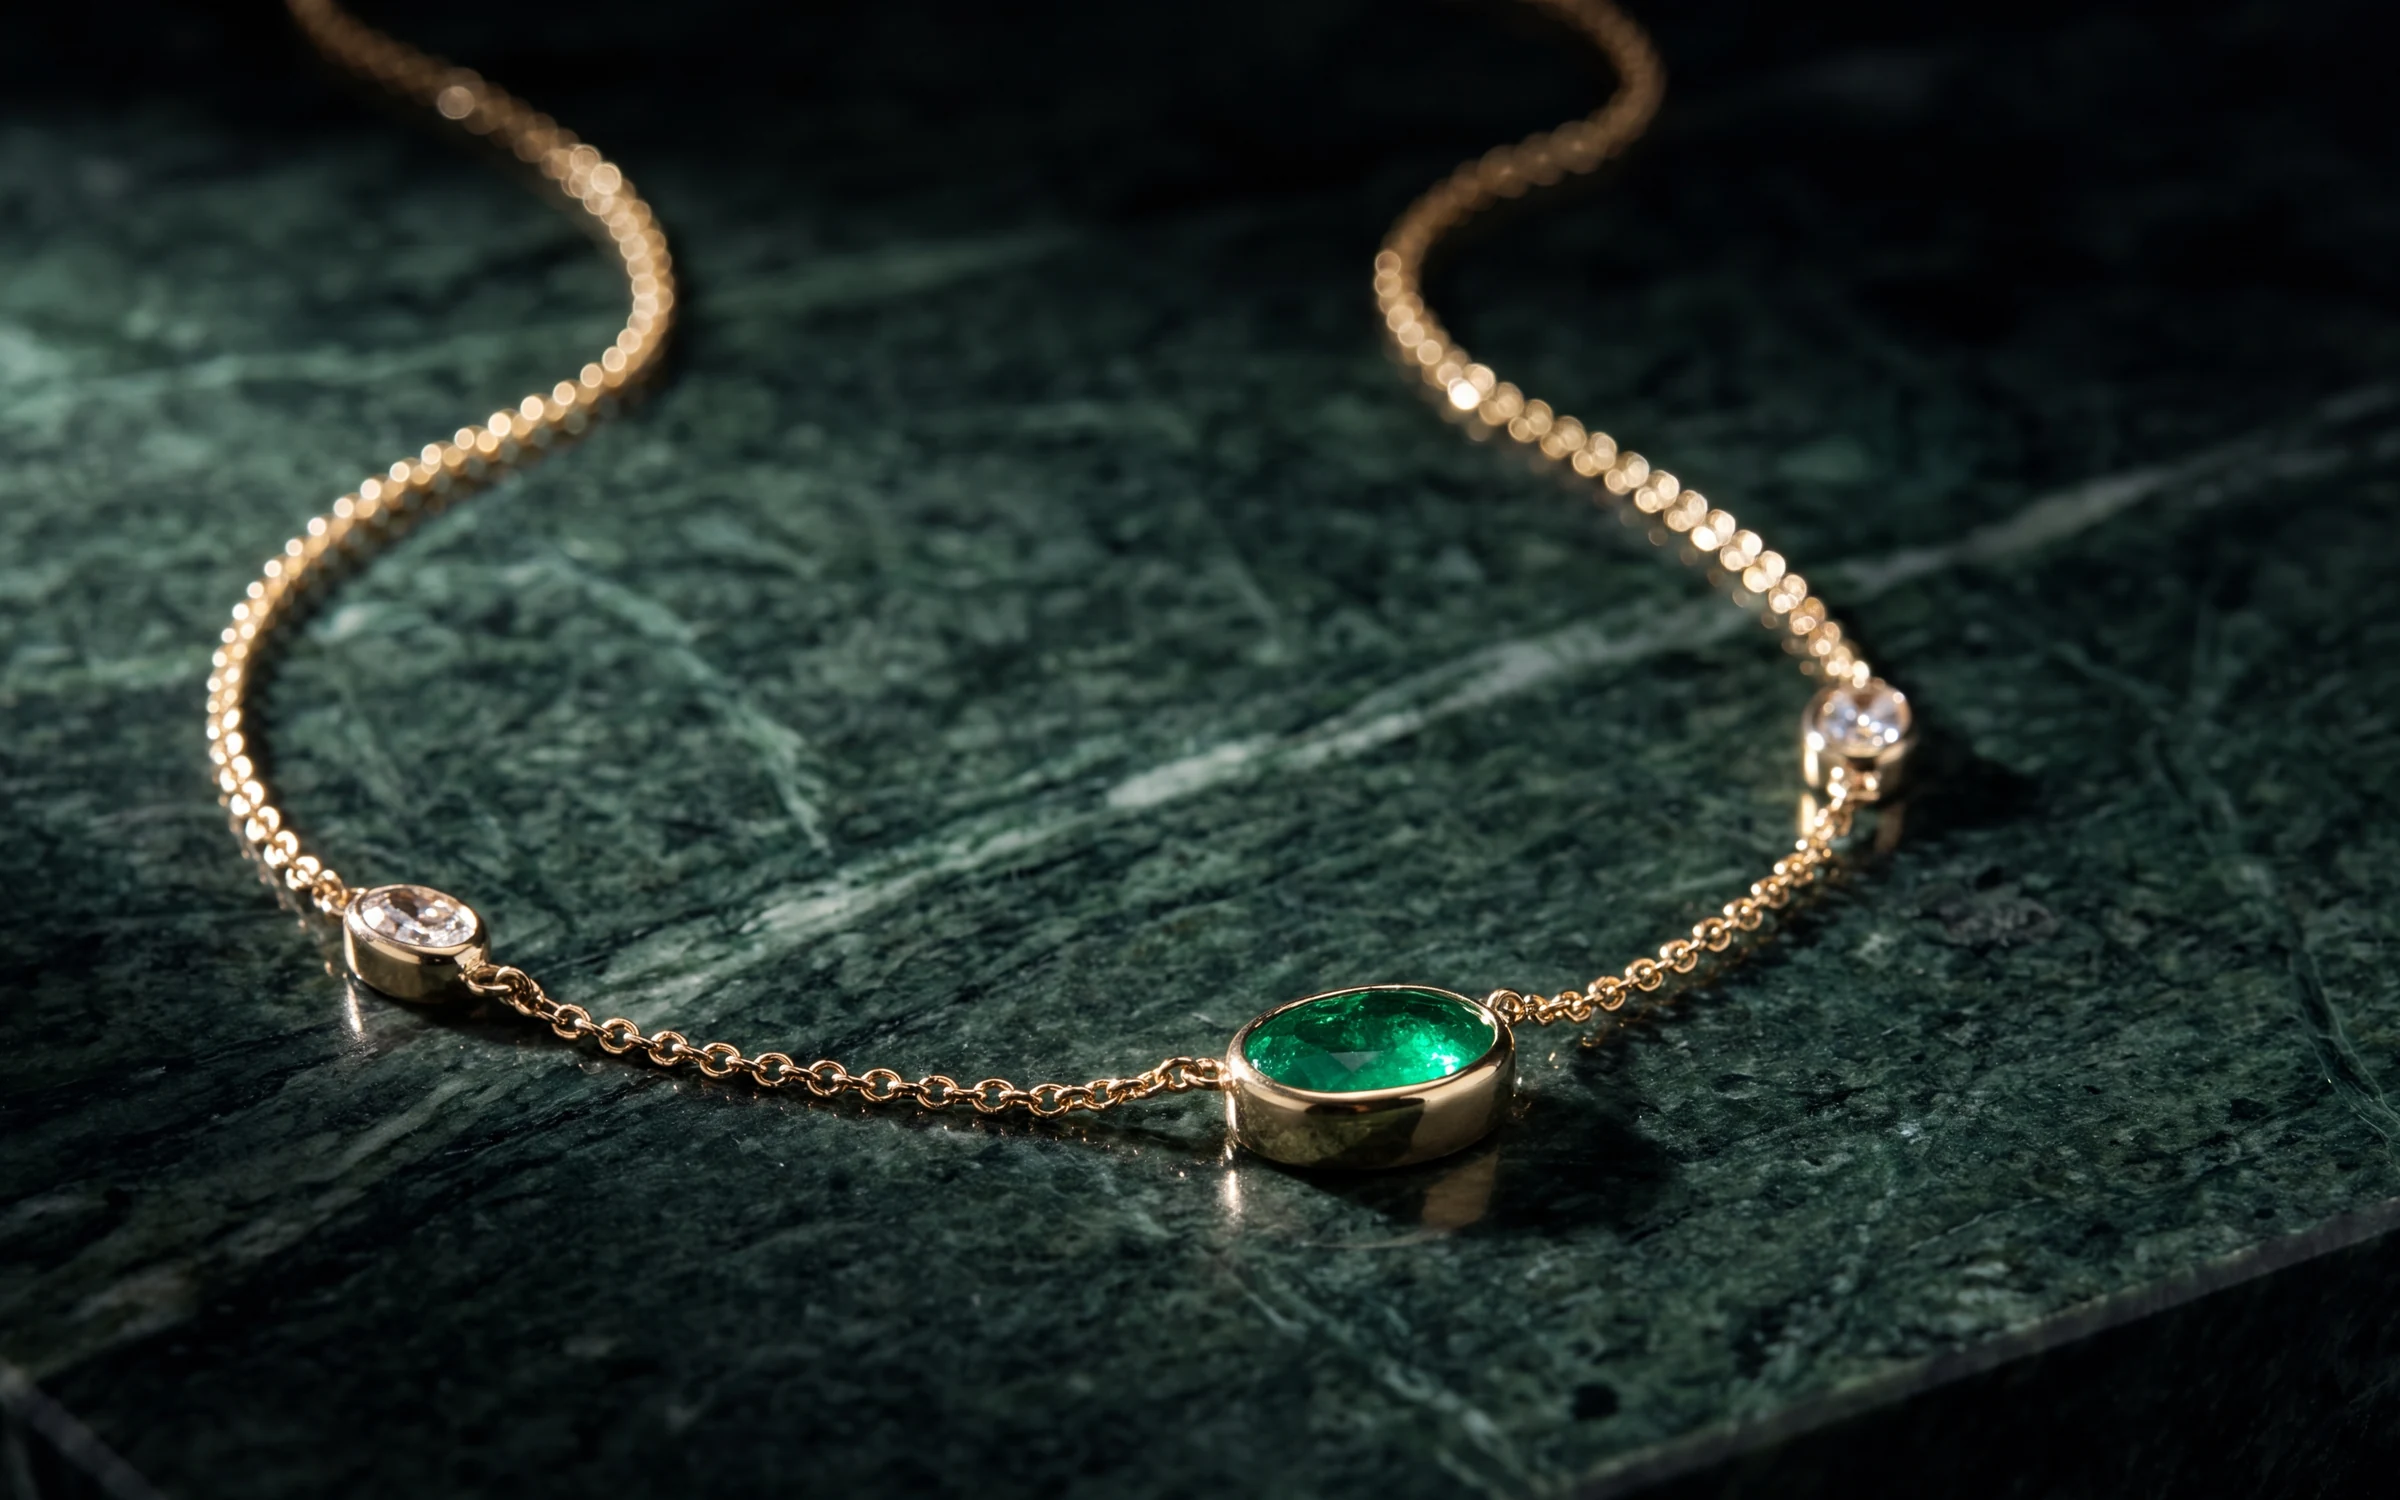
Most jewelry stores already have a photo of nearly every piece they own. It might be a phone shot taken at the counter, a supplier image that came with the invoice, or a lightbox frame from a few years ago. The problem is rarely that the photo is missing. It is that the photo is not good enough to sell from: the light is flat, the background is a glass case, and no two pieces look like they were shot on the same day.
Those photos are a better starting point than they look. This article covers how to get finished product photography out of them: which photos work, which shots to make, and how to check the results before they go on your website.
Why start from the photo you have
A studio reshoot gives you new photographs, but it costs per piece, takes the jewelry out of the case and repeats every time something new arrives. Starting from an existing photo skips all of that. The piece never leaves the store, and a new arrival can be photographed the day it comes in.
It also keeps you honest. When the finished photograph is made from a photo of the real piece, you have something to compare it against. The original stays the reference for what the piece actually looks like.
What makes a good starting photo
You do not need a professional camera. You do need a photo that shows the piece clearly. Before you run a batch, sort out the ones that will not work.
A good starting photo:
- Shows the whole piece, not cropped through the shank, the clasp or the chain.
- Is sharp where it matters, usually the center stone or the setting.
- Has color close to the real piece. White gold reads as white, yellow gold as yellow.
- Has one piece in the frame. A tray of rings makes it hard to tell which one you mean.
- Is reasonably large. A small thumbnail saved from an old website has little detail to work with.
A weak starting photo is still worth trying, but expect to retake some. Blur, a blown-out highlight across a stone, or a piece half hidden behind a display stand cannot be recovered reliably. If a detail is not visible in your photo, nothing downstream can know what it looks like. When in doubt, take a new phone photo by a window. Our guide to photographing jewelry covers the basics in ten minutes.
Supplier photos are often good starting points: they tend to be sharp, evenly lit and shot on plain backgrounds. Check that the photo shows the exact piece you stock, in the right metal.
Decide which shots you need
It is tempting to make every kind of photograph for every piece. It is usually better to decide what each place on your website needs, then make that.
Staged shots for the product grid
A collection page works best when every tile looks like it came from the same shoot. A staged shot shows the piece on its own on a set: a clean studio backdrop, or a surface like marble, silk, linen, velvet, wood, sandstone or slate. Pick one look for the grid and keep it, so a shopper's eye goes to the jewelry rather than to changing backgrounds.
Worn shots for the product page
Shoppers want to know how big a piece is and how it sits. A lifestyle shot shows it worn on a hand, neckline, ear or wrist. One worn shot on the product page, next to the staged shot, answers questions a description cannot.
Check the scale carefully on worn shots. A pendant that looks twice its real size on the neckline sets up a disappointed customer.
Macro details for the pieces that earn it
For a high value piece, a close shot of the setting, the stones or the engraving shows the workmanship. It also gives shoppers a reason to trust the price. Keep these for the pieces where the detail is the selling point.
Frames for each channel
A square frame suits most product grids. A tall portrait frame suits social. Choose the frame when you set the look, so you are not cropping finished photographs afterwards.
Check every result against the piece
This is the step that matters most. Whatever tool makes your photographs, the finished image has to show the piece the customer will receive. Go through each one with the original beside it:
- Metal color. White gold should not come back warm. Rose gold should not turn yellow.
- Stones. Count them. Check the shape and the color of the center stone.
- Setting. Look at the prongs, the halo, the gallery and the band profile.
- Shape and proportion. An oval should stay an oval with the same length to width.
- Scale on worn shots. Compare the piece with the hand or neck around it.
- Anything added. No extra charms, no second ring, no chain that was not there.
If something is off, reject the image or describe what to fix. Do not publish a photograph you would not want to explain at the counter.
How this works in Aurix
Aurix is built around this workflow.
- You pick a ready-made Style or build your own: the surface, the light, the mood, and how close the camera gets. Staged shots show the piece on its own; lifestyle shots show it worn. The models are generated.
- You attach the Style to a Product Images rule and run it on your catalog. Each Style can make one to four variations per product, and you choose whether new photographs go before, after or in place of your current ones.
- Each new photograph waits in Review changes beside the original, by default. You approve it, reject it, or request a change with a note. A revised image costs one image, not a whole run.
- Approved photographs publish to your Shopify store.
Plans start at $99 a month for 5,000 credits, and credits are used only when a generation completes. If one fails, the credits go back to your balance.
What stores say
Zak's Jewelry in Cape Coral, Florida, and Manthe Schwarz Jewelry in Texas both use product images of their own inventory, made with Aurix, on their Shopify stores.
"The photos are night and day, and I thought my photos were ok before, now I know they weren't." Zak's Jewelry
Where to start
Pick ten pieces that sell well in the store but poorly online. Check that each has a usable photo. Choose one staged look for your grid and one worn look for the product page, run them, and review each result against the piece. Ten pieces will tell you more than any demo.
See every look Aurix makes. See plans: Starter is $99 a month, Growth $199 and Scale $399. To see Aurix first, book a 20-minute walkthrough. We run it on sample pieces.